Am I not really greateful to a dear friend of ours, a great cook by herself, who shared this great tip in making pulav in the pressure cooker. Its really easy, time saving, and the rice...they come out really well. Trust me!
Here, I have got the "beetroot & carrot pulav" which is by itself loaded with all the goodness of the veggies and has a great colour too. So moms, if your kids are not much into eating vegetables, get them this rice meal and sure, they will like it.
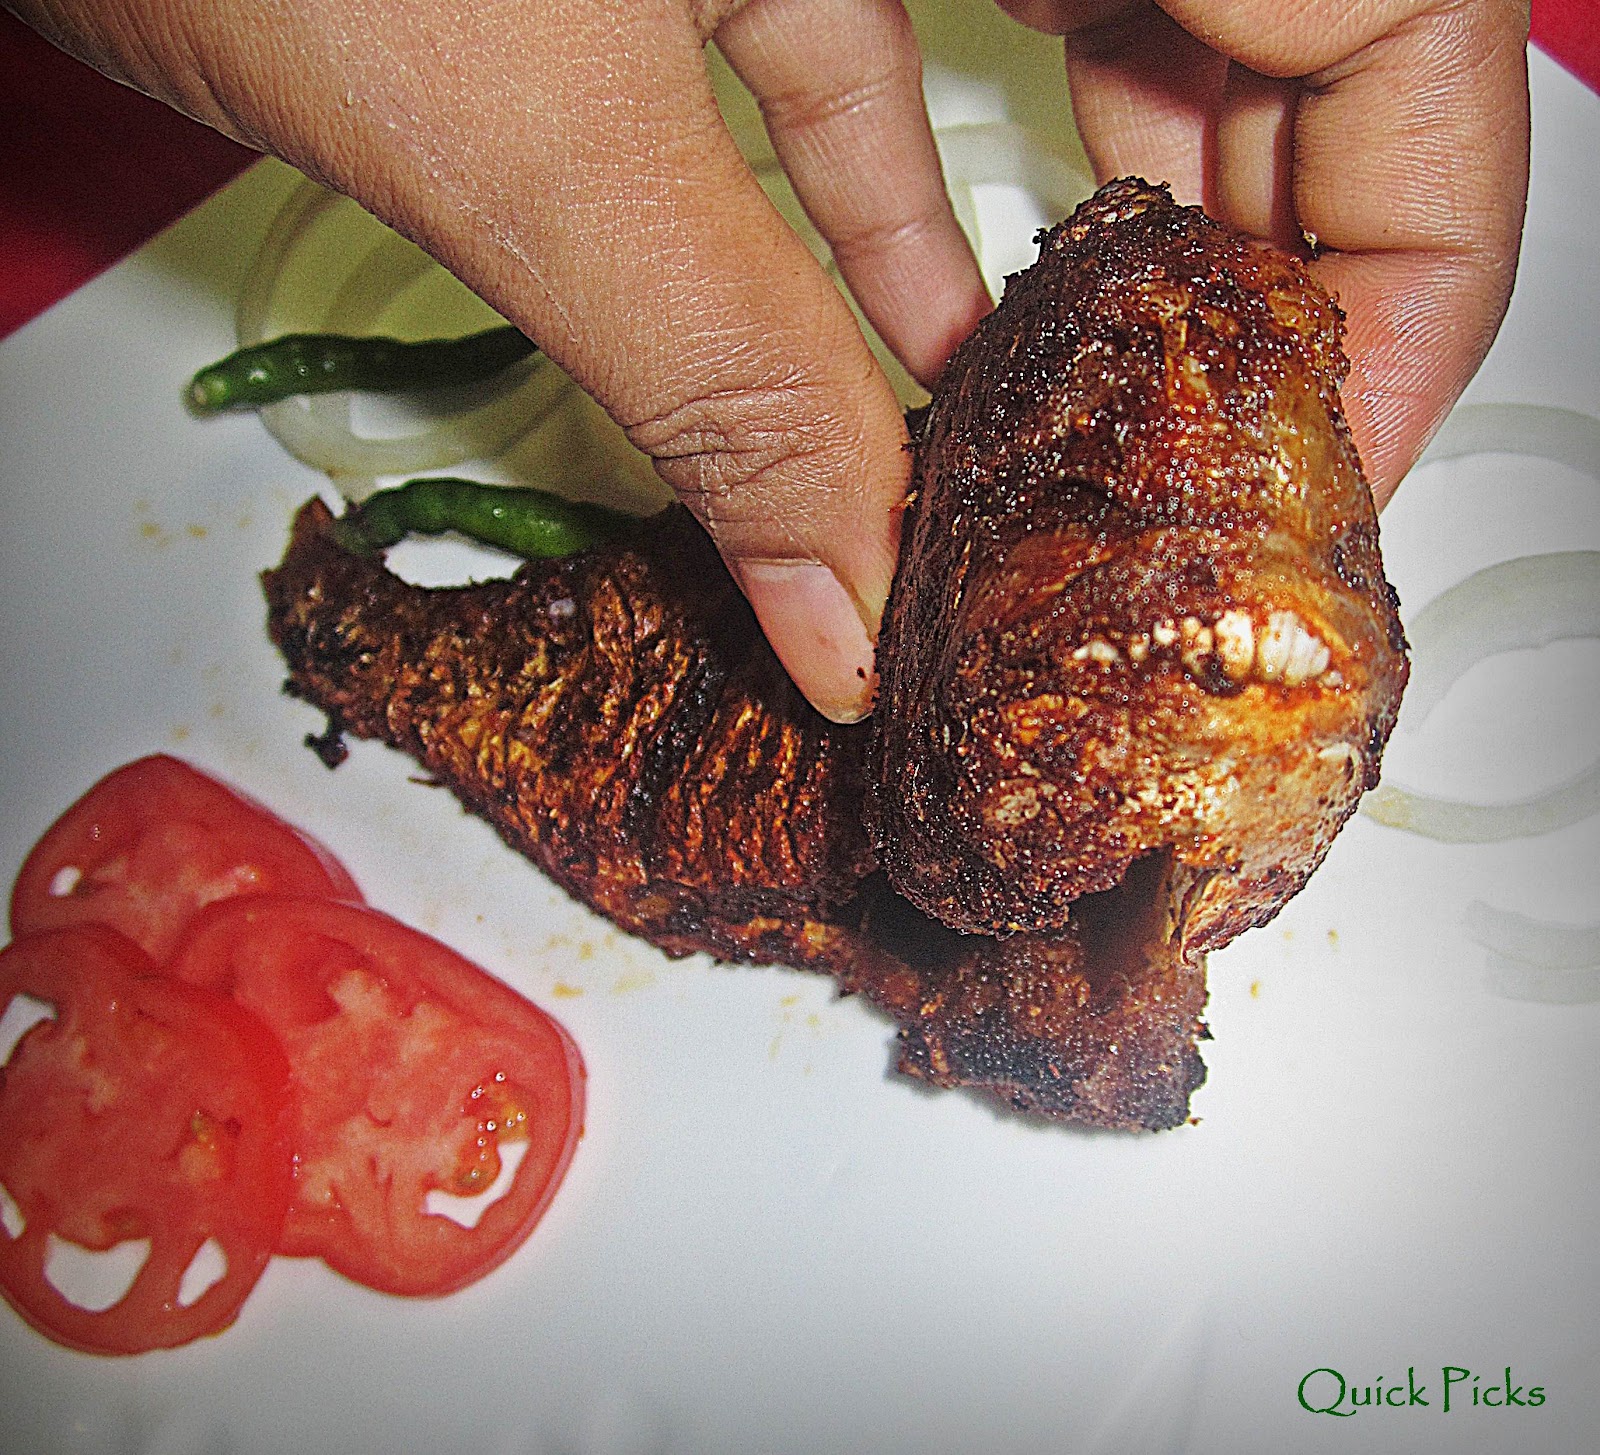
A quick starter pick, with baby tomatoes and cucumber..and...hot hot kerala style pepper chicken.
The Red Rice Pulav
You need :
Carrot - 1 big, grated
Beetroot - 1 big, grated
Spices (cloves, cumin, peppercones, bay leaves, cardamom) - few
Onion - 1 medium sized, cut small
Garlic - 3 , sliced small
Basmati rice - 3 cups, soaked in water for atleast an hour.
"BOILED" Water - 1.5 cups for each cup of rice

How to :
Add 2 tbs of olive oil in the pressure cooker and saute the garlic, onions and the spices.
Add the grated beets and carrot and cook till tender.
In the meanwhile, boil the required quanitity of water (here, 3*1.5 cups) and pour the "boiled water" into the pressure cooker once the veggies are done.
Now add in the rice, salt and a spoon of butter/margarine.
Close the pressure cooker and once the steam starts to pass through the nossle in a full straight path, put on the whistle and close the cooker.
Now this is the key - Adding in the rice to hot boiled water ..and....putting down the whistle while steam passes straight up. Let the cooker stay on the stove, (turned off) for about 30 minutes. The pulav will be done by then.
It has a great colour, is healthy and tastes great too. You can do it with just carrot or beetroot alone. The carrot rice will be more orangish in shade and the one with beetroot alone gives a lovely purple colour. Sure the kids are gonna love it.

..and for the sides....there's this very quick tomato n cucumber starter picks and spicy pepper chicken done the kerala style.
Baby Tomato & Cucumber Picks with Chillie-Barbaque sauce dip
You need:
Baby tomatoes - red and yellow coloured ones - 6 each
Small sized cucumber - 2
Tooth picks
For the sauce - you need -
Barbaque sauce - 3 tbsp
Hot and sweet chillie sauce - 2 tbsp
Dried rosemary
Paprika powder - a pinch
Mint leaves - to decorate
How to
Cut the baby tomatoes into half.
Cut the cucumber crosswise about 1 cm thick and insert a slice in between the cut tomato as shown.
Join together using a toothpick.
Decorate with a mint leaf .
For the sauce, just mix all the ingredients together, and serve aside the tomato picks.
A quick starter in just a minute.
want something really hot and spicy ??
The kerala style pepper chicken really makes up for the mild and suttle flavour of the red Rice pulav.
You need:
Chicken, cut to medium size pieces - 2 kg
To marinate
4 to 5 tsp - Pepper chicken masala (available in Indian supermarkets)
Ginger garlic paste - 1 tbsp
Salt to taste
Other ingredients
Onions , chopped - 3 cups
Pepper chicken masala - 3 tbsp
Chille powder, Coriander powder - 2-3 tsp
Turmeric powder - 1 tsp
Black pepper powder - 1-2 tbsp
Green chilies, chopped - 4-5
Ginger - 1 inch piece
Garlic - 6-7 cloves
4 to 5 sprigs - Curry leaves
How to prepare Kerala Pepper chicken
Marinate chicken for 30 mins in a marinade made with mixing the said ingredients with little water ,ensure that chicken pieces get well covered in all sides with the marinade mixture.
How to :
Heat a pan & put marinated chicken into the pan ,no need to add water ,close with a lide & cook ,as chicken will leave water it will get cooked in that water ,cook till chicken turns tender ,drain the water from the cooked chicken & keep aside the chicken pieces .
Take another pan & heat oil.
When the oil is hot add in mustard seeds, ginger, garlic, green chillie, and chopped onions.
Fry till it turn brown, add the masalas and stir on low flame till the raw smells leaves and oil separates.
Now add the cooked chicken pieces , pepper powder and mix well with the masala . Once the gravy is well blended,
Remove from heat & off the stove .
Garnish this black pepper chicken with coriander leaves.
Enjoy !!!


